*This is NOT a sponsored post but does contain affiliate links that earn me a small commission if you purchase through the link. There is no additional cost to you but it does give my small business a tiny boost! I am a Mylio Certified Consultant because I truly believe in this software.
Here is an inside look at a print photo organizing project. It included album and frame removal, duplicate removal, best photo selection, scanning, creating a folder structure, file naming, adding captions, keywords, and facial tags, and archiving the remaining printed photos.
Photo Assessment & Consolidation
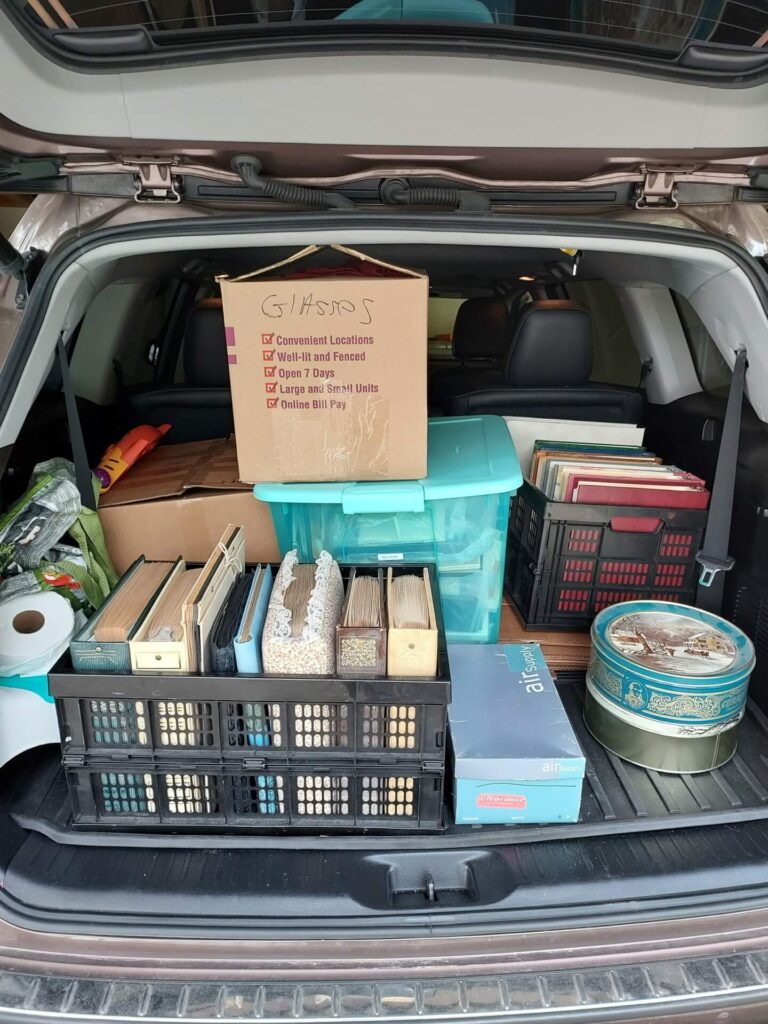
Once the client checked off each box on their Photo & Video Inventory Checklist, we met to discuss goals, talked about their family, began a timeline, and brought their photos home with me. I categorized all the like items together.
This client wanted their physical photos digitized to share with all their children and to properly archive the best physical photos to be preserved for decades to come.
Photograph & Inventory
At this point I listed out every single item that I took from my client’s home and estimated the number of photos in each album, loose photos, etc.
I then took photos of each photo album page to ensure the order was preserved in case I have any questions that I need to look back on or the photos get accidently disorganized.
Remove Photos from Albums
Now I was ready to actually start organizing. I started with the photo albums and frames since there was already some organization and a look into the most important. It helped fill in some gaps in the family timeline. I categorized these photos by date, theme, or person as I went along in line with my client’s goals.
ABCs
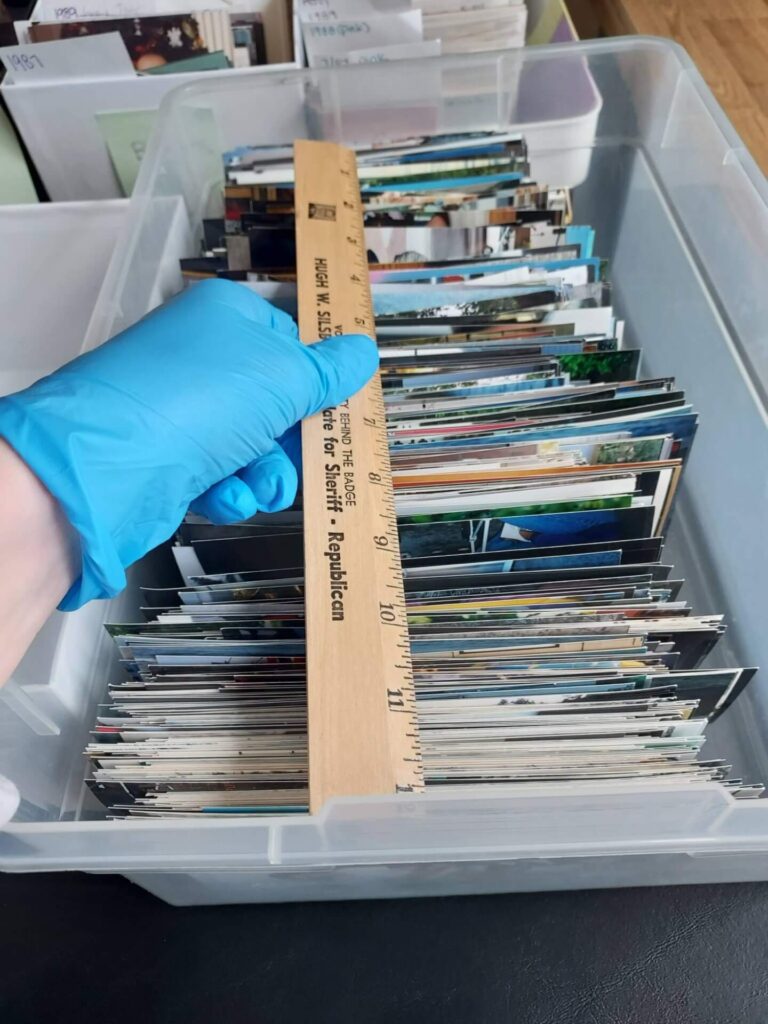
Once all the photos were removed from the albums I sorted them into ABCs. A: The album-worthy photos to digitize; B: the box photos that still needed to be kept but not digitized; C: the (trash)can photos that can be tossed (though I let my clients do the honors). I also kept the S photos: the ones that tell a story, even if they aren’t the best.
I checked in with my client as-needed throughout this process.
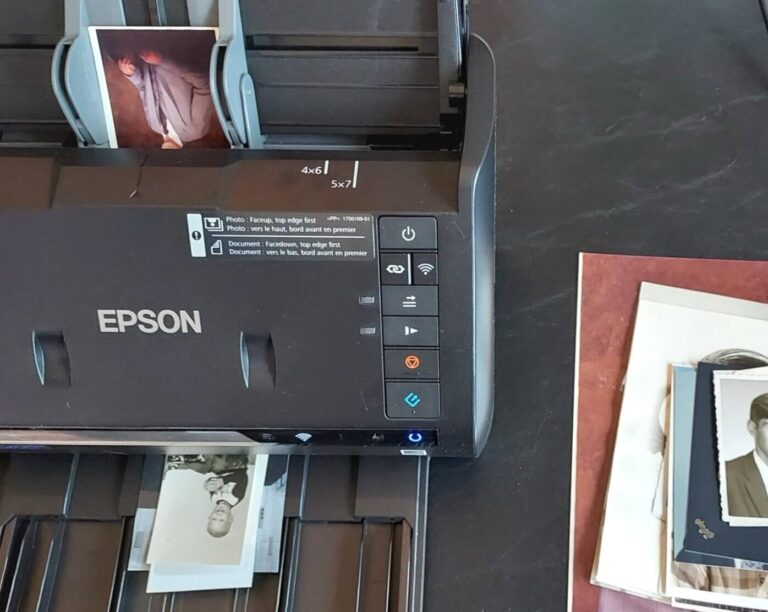
Scan
Next I scanned the A and S photos by category. This is the most exciting part as it brings the photos to life and I know they are protected! I imported them to Mylio Photos+ to organize, edit, and add metadata.
Sort Loose Photos & Digitize Any Remainders
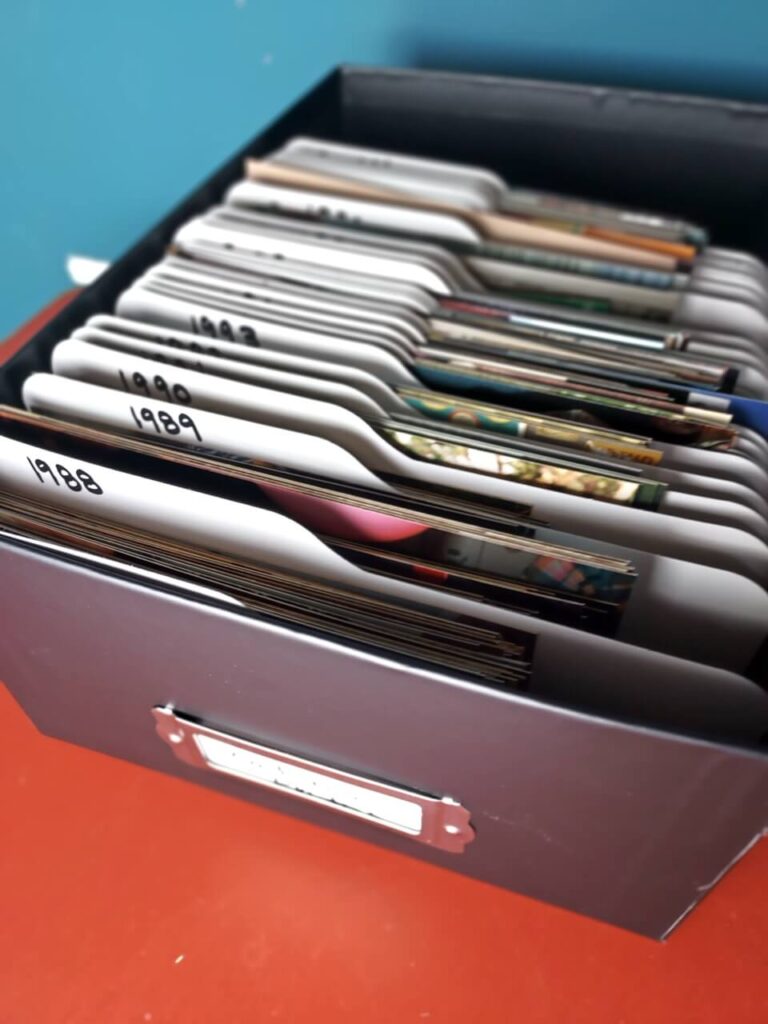
Now that I was familiar with the photos, I sorted the loose photos and picked out anything that I thought needed to be digitized. I had a good idea whether it was a duplicate. And if not, which category or time period it belonged to.
Add Metadata & Facial Tags
Once everything was digitized I added titles, descriptions, dates, keywords, and facial tags to make the photos searchable. I also made any color edits, crops, and adjustments as needed at this point as well.
Enjoy & Share!
The best part! I love delivering the finished project to my clients and watching their smiles as they uncover memories. It is truly an honor to be trusted with such treasured keepsakes.
Could you use help getting all or part of your photo collection organized?
A goal in my life is to leave people and places better than when I found them. I provide personalized one-on-one services to simplify homes to help life run smoother, and photos to enjoy the memories made along the way.