I enjoy giving thoughtful, customized gifts that hold special meaning. My favorite photo gift this holiday was creating a custom family memory game for my nieces! Below I share the step-by-step process for creating your own personalized version. It’s a fun and personal way to revisit cherished moments—and kids love it too!
Step 1: Pick Your Photos

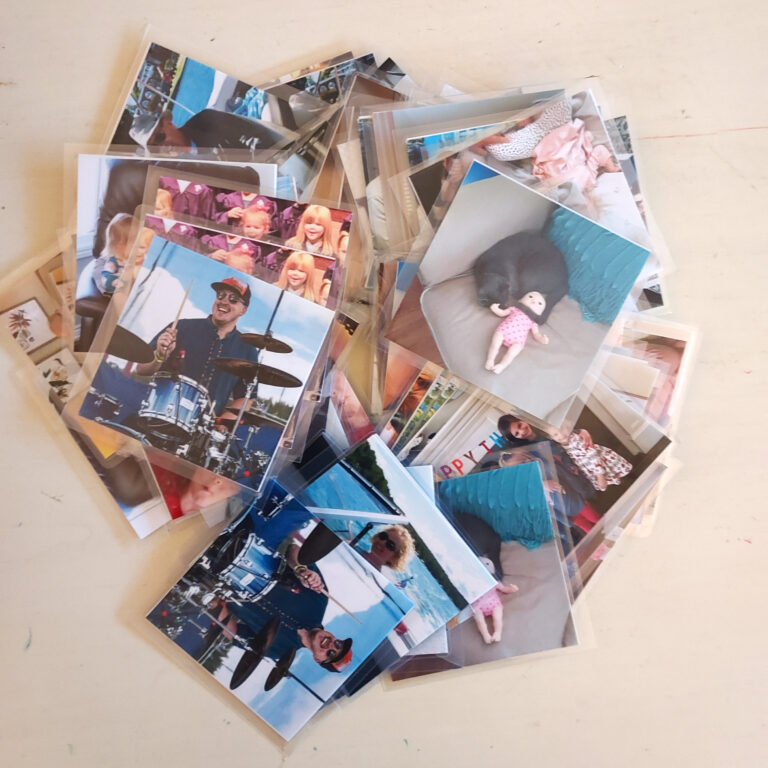
Choose 20-30 of your favorite photos—family members, pets, vacations, or anything meaningful!
Step 2: Choose a Cover

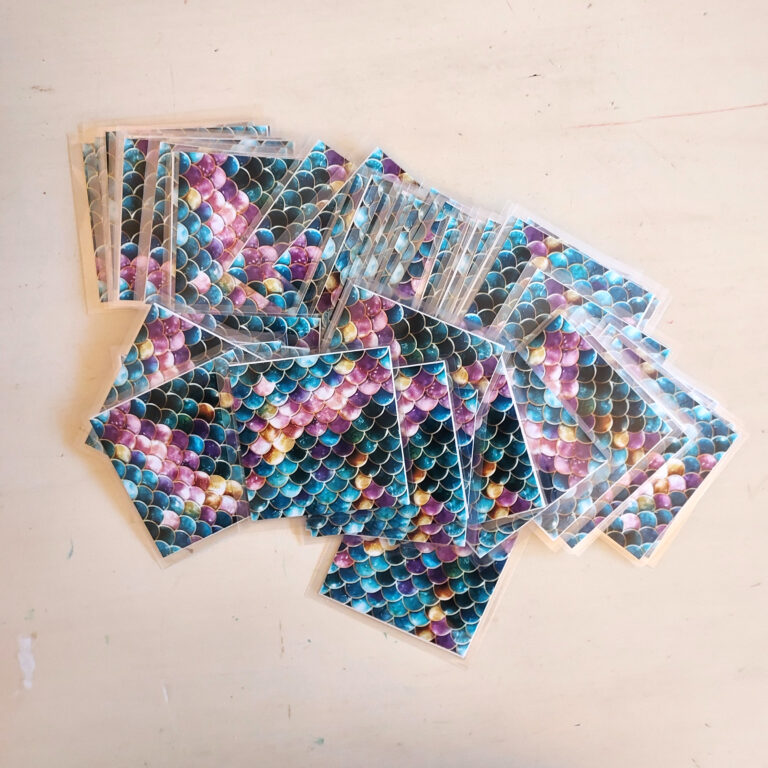
Canva is a great place to look for a background that fits the personality of the giftee. You can pick a solid color, pattern, or even print their name on the backs of all the cards.
Step 3: Resize Everything to 4x4

Resize your selected photos to 4×4 inches. This ensures each card is perfectly square and fits well in the memory game layout.
Step 4: Print Your Photos
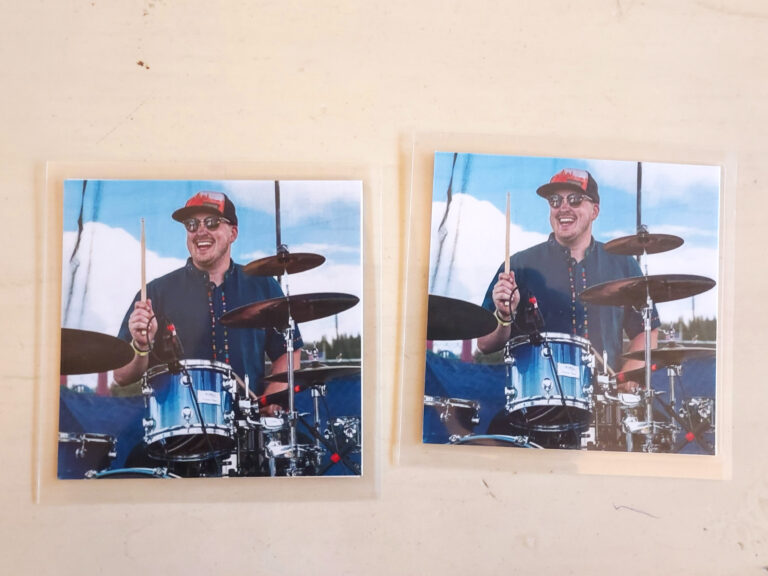
Print 2 of each photo and copies of your cover! I had mine printed at Walgreens.
Step 5: Laminate

Send each photo lined up with a cover through the laminator. This step adds durability and makes your memory game cards sturdy and long-lasting. You can use a home laminator or take them to a print shop for a professional finish.
Step 6: Play and Enjoy!
Enjoy the fun and memories! Gather your family and start playing the memory game. It’s a great way to relive special moments and create new memories together! This game is tougher than it looks!

